Mesh Studio Guide
Edit clothing with vertex controls and brushes, adjust weights and PhysBones, and save the result as a Mesh or BlendShape.
きせった (Kisetter) 3.4.1 documentation⚫ Mesh Studio lets you edit clothing meshes directly in Unity’s Scene View.
⚫ Easily fix clipping, adjust the gap from the body, and repair distorted areas, then save the result as a Mesh or BlendShape.
[1] Prepare to edit#
1. Open Mesh Studio#
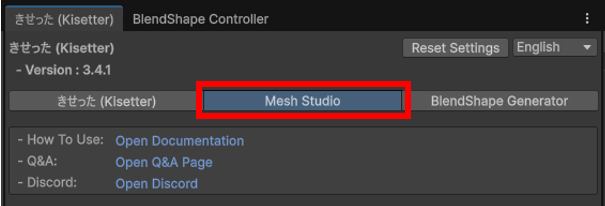
- Select the Mesh Studio tab at the top of the きせった(Kisetter) window.
- Under Mesh Selection, drag the clothing object or its parent into Root Object.
- Click Refresh Meshes if the list is empty or the clothing hierarchy has changed.
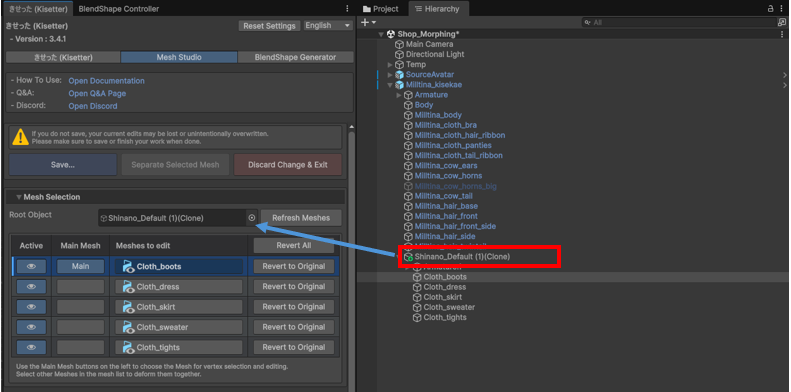
Meshes appear in the list when there are Skinned Mesh Renderers under Root Object. When working on clothing fitted to an avatar, place the clothing under that avatar in the hierarchy.
2. Choose the Main Mesh and additional meshes#
| Control | How to use it |
|---|---|
| 1. Refresh Meshes | Reload the Skinned Mesh Renderers under Root Object. |
| 2. Active | Turn the mesh object on or off. |
| 3. Main Mesh | Choose the mesh whose vertices you will select and edit. The selected mesh is marked Main. |
| 4. Meshes to edit | Select or deselect additional meshes to deform with the Main Mesh. |
| 5. Revert to Original | Revert to Original: Revert edits to that mesh. Revert All: Revert edits to all meshes. |
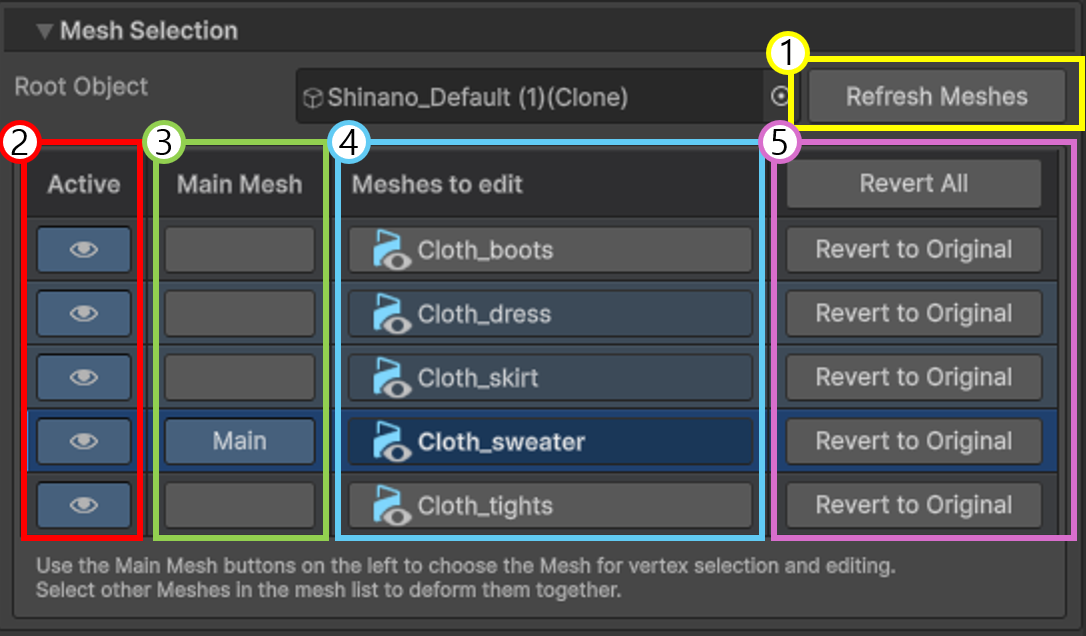
Changing the Main Mesh clears the additional mesh selection. Choose the Main Mesh first, then select any additional meshes.
[2] Interface and shared settings#
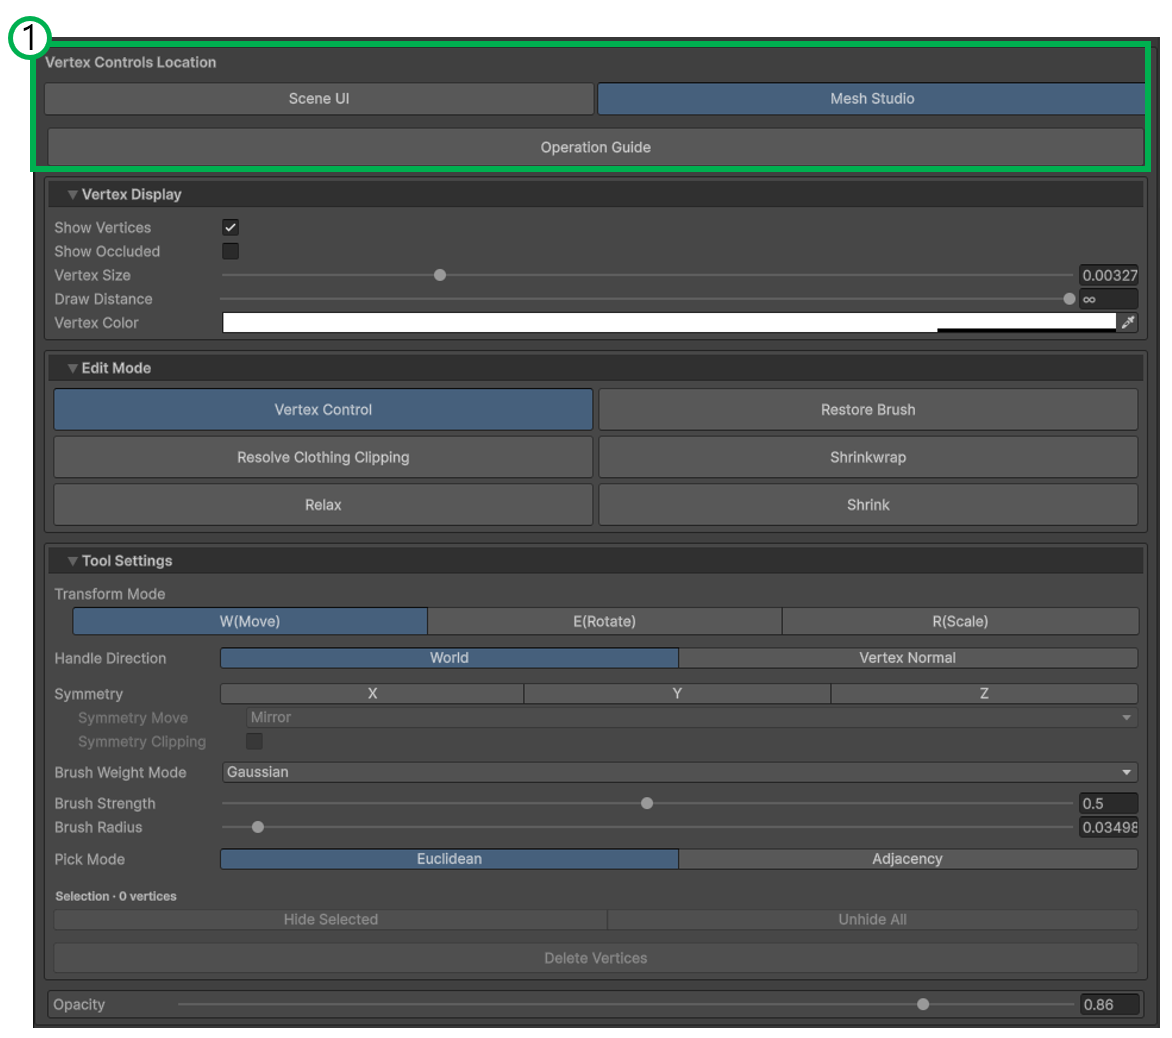
1. Choose where controls appear#
Use Vertex Controls Location to choose the location of the editing controls.
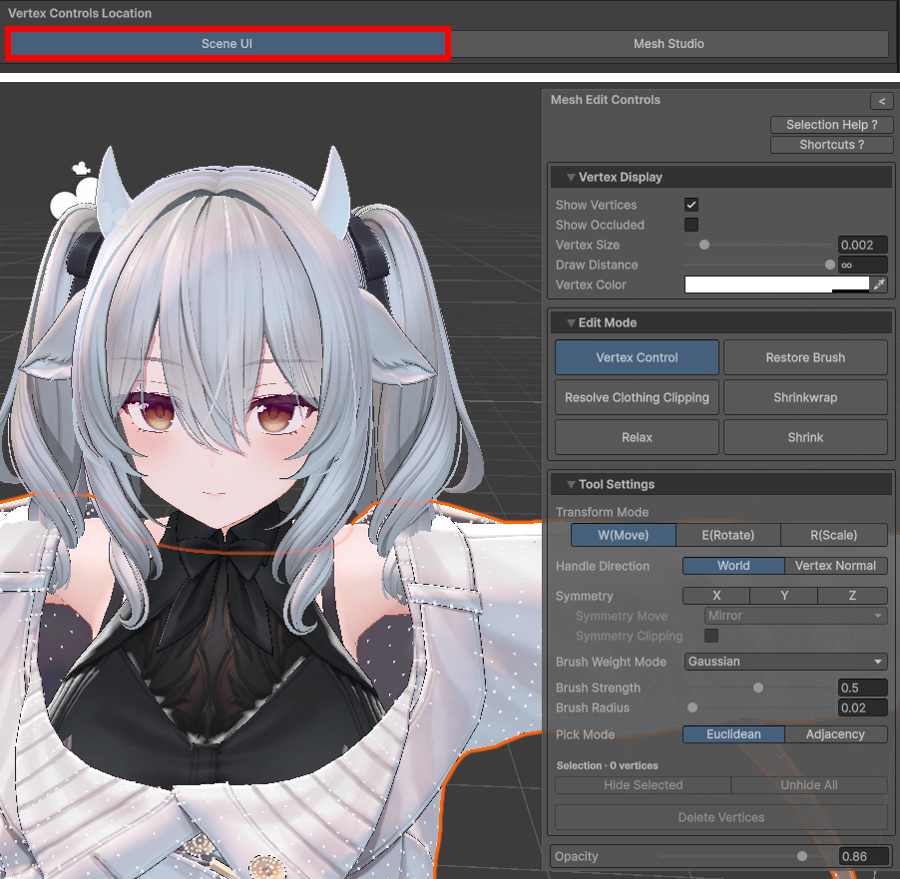
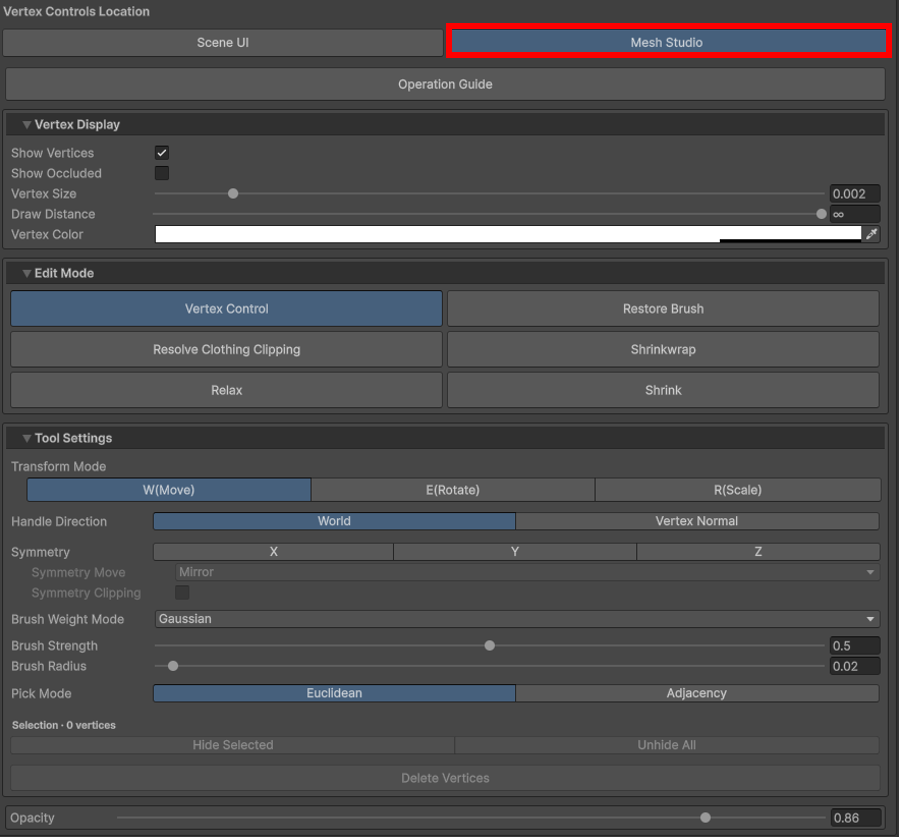
2. Vertex display#
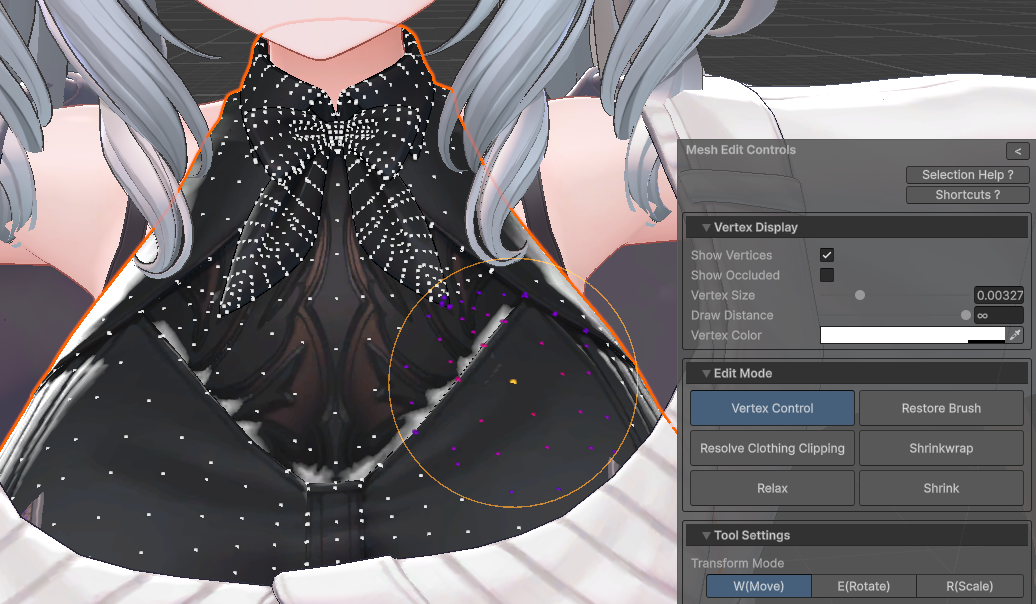
Use Vertex Display to adjust how vertices appear. Editable vertices are white by default, and selected vertices are yellow. Affected neighboring vertices range from blue for a weaker influence to red for a stronger influence.
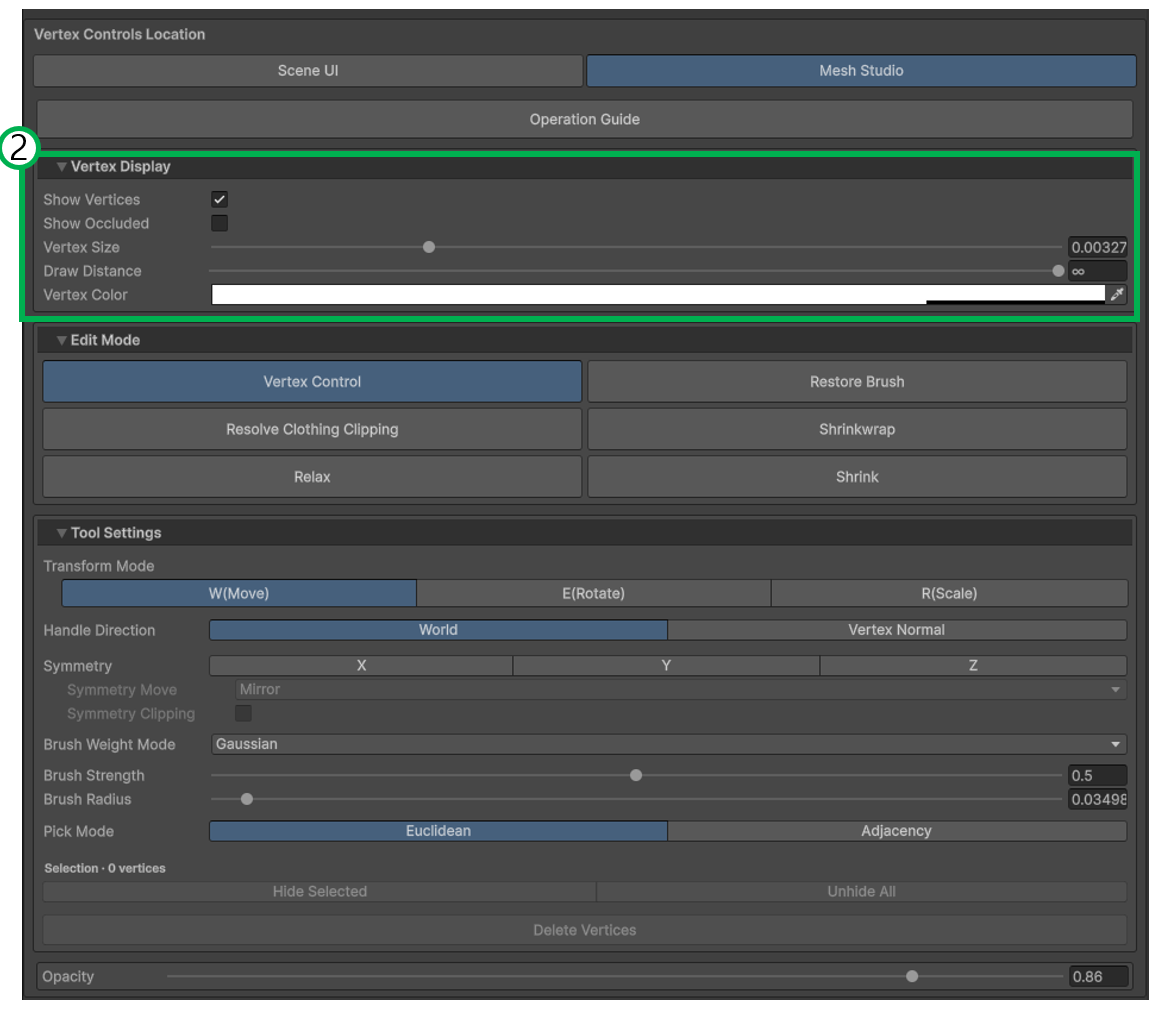
| Control | Description |
|---|---|
| Show Vertices | Show or hide editable vertex points. |
| Show Occluded | Also show vertices obscured by other meshes. |
| Vertex Size | Adjust the size of the vertex points. |
| Draw Distance | Set the maximum distance from the camera at which vertices appear. The slider's maximum value removes the distance limit. |
| Vertex Color | Set the vertex display color. |
3. Choose an editing mode#
Choose a tool under Edit Mode, then adjust its options under Tool Settings.
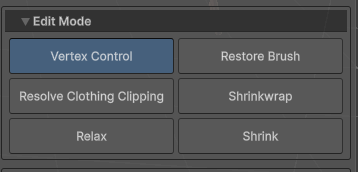
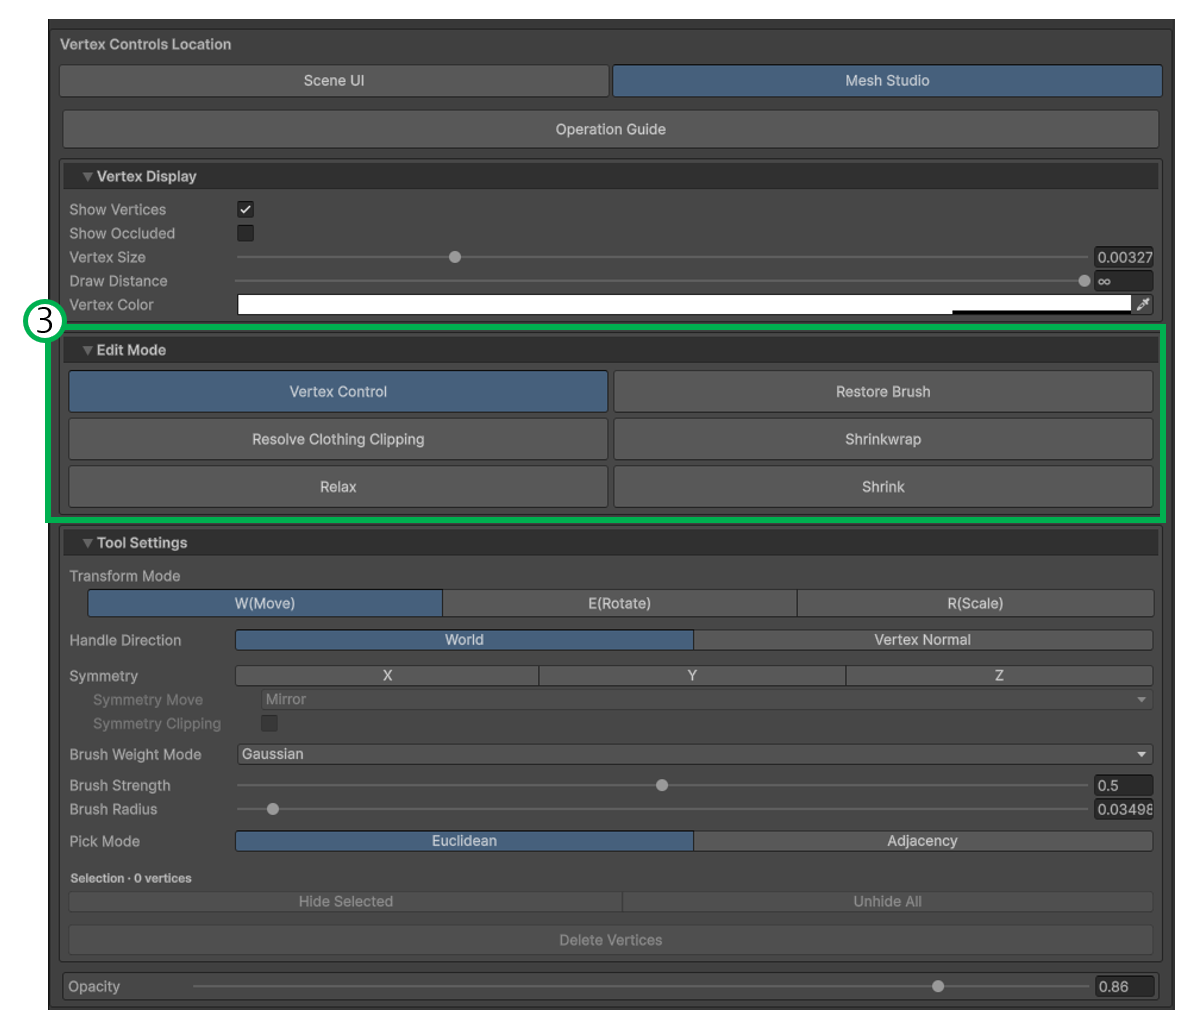
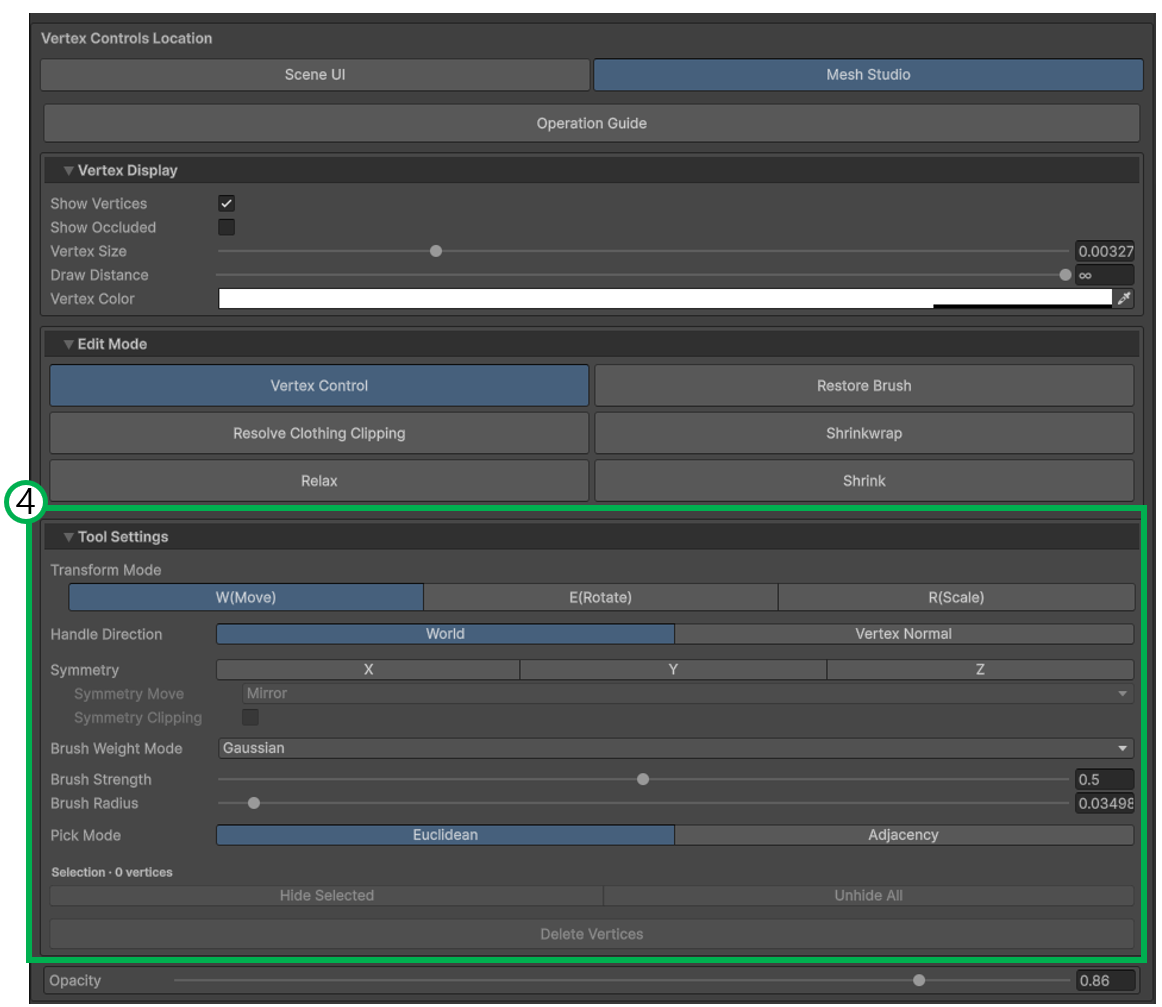
Choose a tool below to open its instructions and examples.
| Tool | Use it to… |
|---|---|
| Vertex Control | Move, rotate, or scale selected vertices. |
| Restore Brush | Restore distorted areas using a shape recorded in a BlendShape. |
| Resolve Clothing Clipping | Move clothing that penetrates the reference mesh back outside its surface. |
| Shrinkwrap | Fit clothing to the reference surface at the specified gap. |
| Relax | Even out vertices and soften sharp bends. |
| Shrink | Collapse selected vertices to create a shape that hides part of the clothing. |
[3] Recalculate weights and realign PhysBones#
After editing the mesh, use Clothing Weight Recalculation / PhysBone Realignment if needed.
1. Assign the reference avatar and body meshes#
- Check the clothing Root Object.
- Assign the target avatar's valid Humanoid Animator to Reference Avatar.
- Assign the avatar's body meshes to Body Meshes, or use Auto-assign Body Mesh.
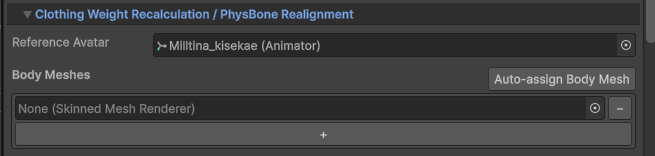
Place the clothing under the reference avatar and check the structure and positions of corresponding bones. The edited clothing and renderers sharing its mesh data cannot serve as body meshes.
Both operations currently require a valid Reference Avatar and Body Meshes. If a button is disabled, check these settings and whether there are eligible edited targets.
2. Realign PhysBones#
Realign PhysBones adjusts clothing accessory bone positions to the edited meshes. Protected bones, including bones matched to the avatar, are excluded.
- Finish editing the mesh, then click Realign PhysBones.
- Check that accessory bones for straps and decorations align with the edited mesh.
- Save to keep the result.
Bones whose reference vertices were deleted are excluded. Related Constraints remain unlocked afterward; check their result and lock state when working with clothing that uses Constraints.
3. Recalculate Weights#
Recalculate Weights recalculates clothing weights using the body meshes. It adjusts weights associated with the avatar while retaining clothing accessory bone weights and preserving the current Mesh and BlendShape shapes.

- Choose the Weight Recalculation Scope.
- Click Recalculate Weights.
- Check how the clothing follows the avatar in different poses, then save.
| Scope | Target |
|---|---|
| Edited Meshes | Meshes you have edited. |
| All Meshes under Root | All meshes loaded from Root Object. |
[4] Save and separate meshes#
1. Save your edits#
Click Save... and choose a save method. The result is stored in a copy of the mesh, preserving the original mesh asset. The saved mesh is assigned to the object.

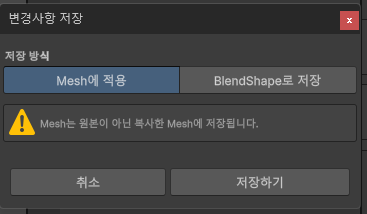
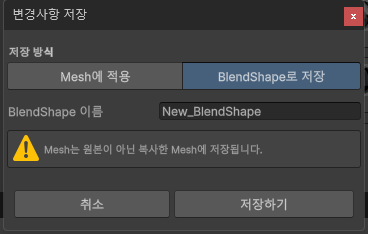
Save location: Assets/@Eden_Mesh_MeshStudio/<Root Object name>/
| Save method | Result |
|---|---|
| Apply to Mesh | Apply the current edited shape to the mesh. |
| Save as BlendShape | Store the deformation as a named BlendShape. It is added only to meshes with changes. |
For BlendShape output, enter a BlendShape Name. If the name already exists, an overwrite confirmation appears. Choosing Overwrite replaces that BlendShape.
2. Separate the selected area#
Use Separate Selected Mesh to save selected faces as a separate object and mesh.

- Select vertices on the Main Mesh. A triangle is separated only when all three of its vertices are selected.
- Click Separate Selected Mesh.
- Choose Apply to Mesh or Save as BlendShape, and enter a BlendShape name if needed.
- Check which areas will be separated and retained, then click Separate.
The existing renderer receives a copy of the remaining mesh, and a new object receives a copy of the separated mesh. BlendShape, SubMesh, and Material data are retained. When saving as a BlendShape, edited deformations are distributed to the corresponding regions of each output mesh.
If separation is unavailable or BlendShape saving is disabled
- Select all three vertices of each triangle you want to separate.
- Some faces must remain in the existing mesh.
- Meshes with a Cloth component, multiple Mesh LOD levels, or non-triangle topology cannot be separated.
- If editing changed the topology, for example by deleting vertices, the separated result cannot be saved as a BlendShape. Use Apply to Mesh.
3. Exit without saving#
Choose Discard Change & Exit to end the session without keeping edits. Cancel in a save dialog cancels the save and lets you continue editing.
