
Restore Brush
Restore distorted areas using a shape recorded in a BlendShape.
きせった (Kisetter) 3.4.1 documentationRestore Brush restores distorted areas using a reference shape recorded in a BlendShape. Choose a BlendShape available on the Main Mesh.
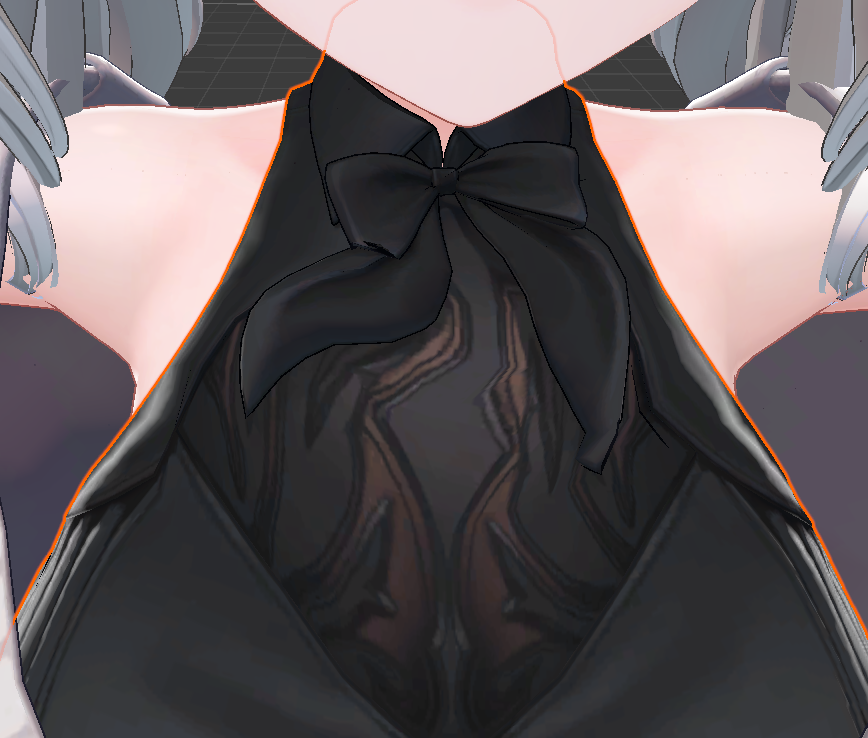
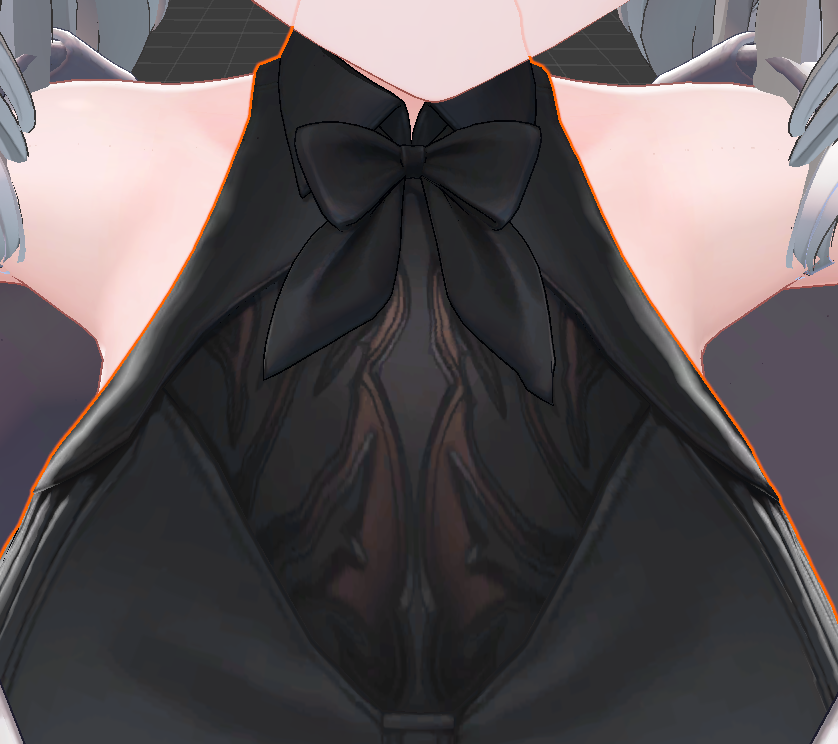
[1] How to use it#
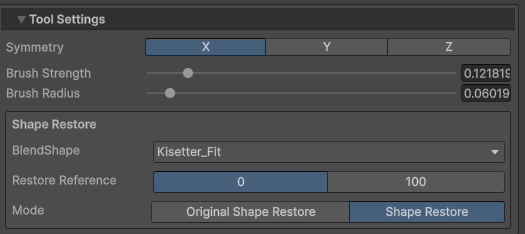
- Select the reference BlendShape.
- Set Restore Reference to
0or100. - Choose the restoration Mode.
- Adjust radius and strength, then left-drag over the Main Mesh.
[2] Brush settings#
| Option | Description |
|---|---|
| Brush Radius | Set the area around the cursor in which to restore the shape. |
| Brush Strength | Set how strongly the brush restores the shape using the chosen restore mode and BlendShape reference. Use several gentle strokes to inspect gradual changes. |
| Symmetry | Enable X / Y / Z to apply the operation to the opposite side relative to Root Object. Multiple axes can be enabled together. |
| Input | Action |
|---|---|
| Shift + mouse wheel | Adjust brush radius. |
| Ctrl + Shift + mouse wheel | Adjust brush strength. |
| Shift + mouse wheel with Caps Lock on | Adjust brush strength. |
| Esc | Cancel the current brush stroke. |
Use these shortcuts in the Scene View. On macOS, use Command instead of Ctrl.
[3] Restore Reference#
| Restore Reference | Reference shape |
|---|---|
| 0 | The shape with the selected BlendShape set to 0. |
| 100 | The shape with the selected BlendShape set to 100. |
Other BlendShapes are treated as 0 when the reference is prepared. This reference may differ from the combined BlendShapes currently visible in the Inspector. Check which value contains the shape you want to restore.
Automatic selection prefers MF_Origin at 100, then Kisetter_Fit at 0. If neither exists, select a reference manually. When choosing another BlendShape, also check Restore Reference.
[4] Restoration modes#
| Mode | Description |
|---|---|
| Original Shape Restore | Smooth the difference between the reference and the current shape according to neighboring vertices. |
| Shape Restore | Restore the reference shape at the current position and orientation. Nearby pieces in the original shape are also aligned relative to one another within the brush area. |
Hidden vertices and vertices outside the brush area stay fixed. Gradually increase the radius for wider distortions, and hide areas you want to protect before brushing.
[5] Save your edits#
After editing, recalculate weights and realign PhysBones if needed. See saving and mesh separation to save the result as a Mesh or BlendShape.